1. Vmware install 
Go to ![[http]](http://wiki.commres.org/imgs/http.png) vmware site(http://www.vmware.com/download/server/)
vmware site(http://www.vmware.com/download/server/)
Register yourself with email and password.
Through the email, you will get the activation code for vmware of both windows and linux.
The current version is 2.01
The size of the file is huge (over 400Mb).
![[http]](http://wiki.commres.org/imgs/http.png) vmware site(http://www.vmware.com/download/server/)
vmware site(http://www.vmware.com/download/server/)Register yourself with email and password.
Through the email, you will get the activation code for vmware of both windows and linux.
The current version is 2.01
The size of the file is huge (over 400Mb).
Open a terminal
The default directory would be:
Choose a proper location, if you want.
Once done, the arrow keys may not work (not the ones in number pad):
sudo apt-get install linux-headers-`uname -r` build-essential xinetd
cd /Directory_downloaded_files
tar xvfz VMware-server-*.tar.gz
cd vmware-server-distrib
sudo ./vmware-install.pl
Choose a proper location, if you want.
In which directory do you want to keep your virtual machine files?
[/var/lib/vmware/Virtual Machines]
I know there are a number of Closed threads that mention how to fix this. And maybe I missed the obvious. But to save others some time.
1. All the threads say to edit /etc/vmware/config
2. And some do say to edit ~/.vmare/config

#2 is in your home folder.

#1 is what I did and it did not work. I see now why it did not work, which was obvious, the /etc/vmware/config was on the server and I think some of these threads where people using vmware on their desktop. ???

So #2 worked right away by

1. nano .vmware/config
It may not exist
2. xkeymap.nokeycodeMap = true

And start up the vmware machine and it all should work.
http://ubuntuforums.org/showthread.php?t=1056799
https://127.0.0.1:8333/
or
http://127.0.0.1:8222/
2. Vmware's keyboad mapping problem 
:
Read this first: http://ubuntuforums.org/showthread.php?t=232059
Setting up Samba server:
 https://help.ubuntu.com/community/SettingUpSamb
 [http://ubuntuforums.org/showthread.php?t=202605 a concise version]
xkeymap.keysym.Hangul = 0x0f2
xkeymap.keysym.Hangul_Hanja = 0x0f1
xkeymap.keycode.108 = 0x138 # Alt_R
xkeymap.keycode.106 = 0x135 # KP_Divide
xkeymap.keycode.104 = 0x11c # KP_Enter
xkeymap.keycode.111 = 0x148 # Up
xkeymap.keycode.116 = 0x150 # Down
xkeymap.keycode.113 = 0x14b # Left
xkeymap.keycode.114 = 0x14d # Right
xkeymap.keycode.105 = 0x11d # Control_R
xkeymap.keycode.118 = 0x152 # Insert
xkeymap.keycode.119 = 0x153 # Delete
xkeymap.keycode.110 = 0x147 # Home
xkeymap.keycode.115 = 0x14f # End
xkeymap.keycode.112 = 0x149 # Prior
xkeymap.keycode.117 = 0x151 # Next
xkeymap.keycode.78 = 0x46 # Scroll_Lock
xkeymap.keycode.127 = 0x100 # Pause
xkeymap.keycode.133 = 0x15b # Meta_L
xkeymap.keycode.134 = 0x15c # Meta_R
xkeymap.keycode.135 = 0x15d # Menu
Attach the above lines in /etc/vmware/config
Or add the below line in /etc/vmware/config
Or add the below line in /etc/vmware/config
xkeymap.nokeycodeMap = true
3. Vmware hard disk change, increase, e.g. 
:
http://www.geekzilla.co.uk/View18A035DE-06FF-4EA6-BC77-57D431CD50DD.htm
http://uneasysilence.com/archive/2007/01/9404/
http://support.microsoft.com/?kbid=325590 for diskpart
- 우선 vmware-vdiskmanager의 위치를 확인한다.
which vmware-vdiskmanger
/usr/bin/vmware-vdiskmanager
- su 상태에서 작업하도록 한다. 혹은 sudo를 이용하여 작업해도 무관함.
su
user@domain:$ sudo /usr/bin/vmware-vdiskmanager -x 15Gb /var/lib/vmware/Virtual\ Machines/vWin\ XP/vWin\ XP.vmdk
[sudo] password for user:
This disk is part of a snapshot chain in '/var/lib/vmware/Virtual Machines/vWin XP/vWin XP.vmx'.
The selected operation can only be executed on a disk with no snapshots.***
- *** 위의 에러 사인은 snapshot이 존재하기 때문에 나타나는 것으로 snapshot을 지운다.
- 이전에 만들어 둔 snapshot을 지운다.
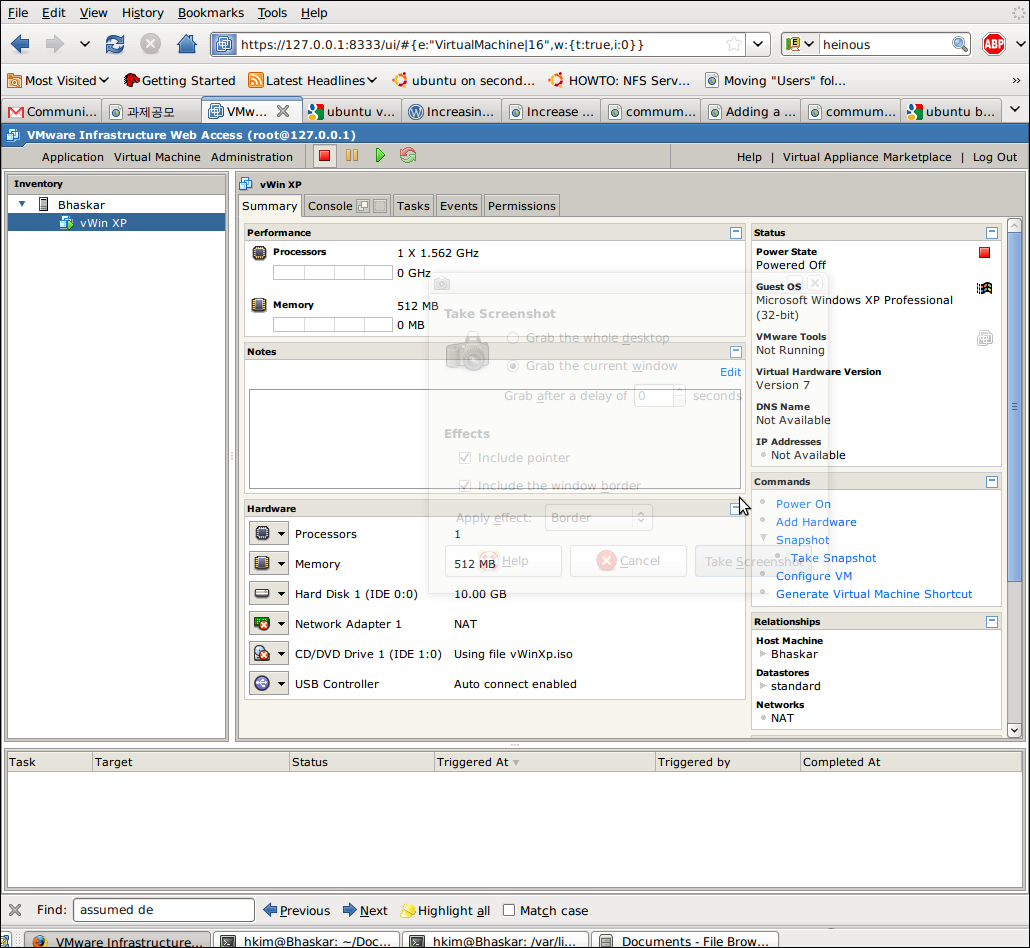
https://127.0.0.1/ui
로 접속하여, erase snapshot을 선택하여 지운다.
 [PNG image (178.34 KB)]
- 위의 명령어를 다시 사용하여 하드디스크의 공간을 늘인다. (10 -> 15Gb).
user@domain:$ sudo /usr/bin/vmware-vdiskmanager -x 15Gb /var/lib/vmware/Virtual\ Machines/vWin\ XP/vWin\ XP.vmdk Grow: 100% done. Disk expansion completed successfully. WARNING: If the virtual disk is partitioned, you must use a third-party utility in the virtual machine to expand the size of the partitions. For more information, see: http://www.vmware.com/support/kb/enduser/std_adp.php?p_faqid=1647 - Virtual machine을 실행시킨다. 콘멘드 창을 열어 diskpart를 실행한다.
{{{
diskpart
}}
 {{{
list disk
}}}
 {{{
list volume
}}}
 {{{
select volume=# (<- 하드디스크 volume number)
}}}
 {{{
extend
}}}

 1. 위의 6번에서 dispart 대신
 [http://downloads.sourceforge.net/gparted/gparted-livecd-0.3.3-0.iso?modtime=1165447791&big_mirror=0 gparted (download)] 유틸리티를 이용할 수도 있다. 이 경우에는, iso를 cd rom으로 mount한 후에 부팅이 먼저되도록 해야 한다.

== Failed to connect with web browser ==
A recent update (linux kernel) of ubuntu 8.10 would result in failed to connect to the vmserver.
 {{{
sudo /usr/bin/vmware-config.pl
}}}
Reconfiguring vmware with the above command will fix the problem.


CategoryUbuntu